前言
学校的网络是纯NAT,这个就很尴尬了,想在家里用一下办公室的电脑都不行,于是搞个内网穿透。之前有体验过frp和ngrok,这次看到有新的解决方案——nps,据说还带面板特别好用,赶紧来尝尝鲜。
安装服务端
服务端选择的是Ubuntu18.04主要是懒,手上有这个就用吧,反正只跑nps的话都一样。
下载编译好的包
自己去Release页面下载即可。
wget https://github.com/ehang-io/nps/releases/download/v0.26.4/linux_amd64_server.tar.gz
解压安装
tar -xzvf linux_amd64_server.tar.gz
sudo ./nps install
1秒内搞定,弹出提示:
2020/03/03 10:19:19 install ok!
2020/03/03 10:19:19 Static files and configuration files in the current directory will be useless
2020/03/03 10:19:19 The new configuration file is located in /etc/nps you can edit them
2020/03/03 10:19:19 You can start with:
nps start|stop|restart|uninstall|update or nps-update update
anywhere!
运行及配置
首先开启服务
nps start
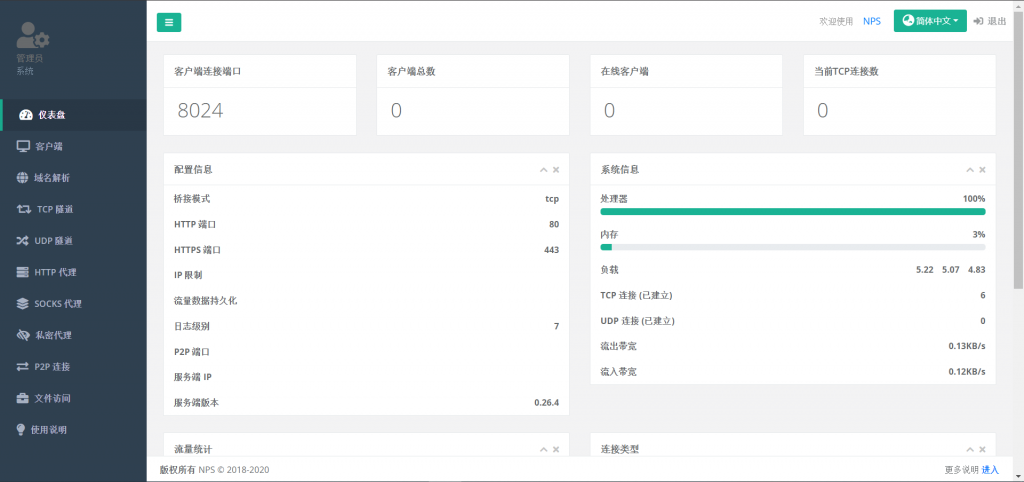
nps默认配置文件使用了80,443,8080,8024端口,其中80与443端口为域名解析模式默认端口,8080为web管理访问端口,8024为网桥端口,用于客户端与服务器通信。
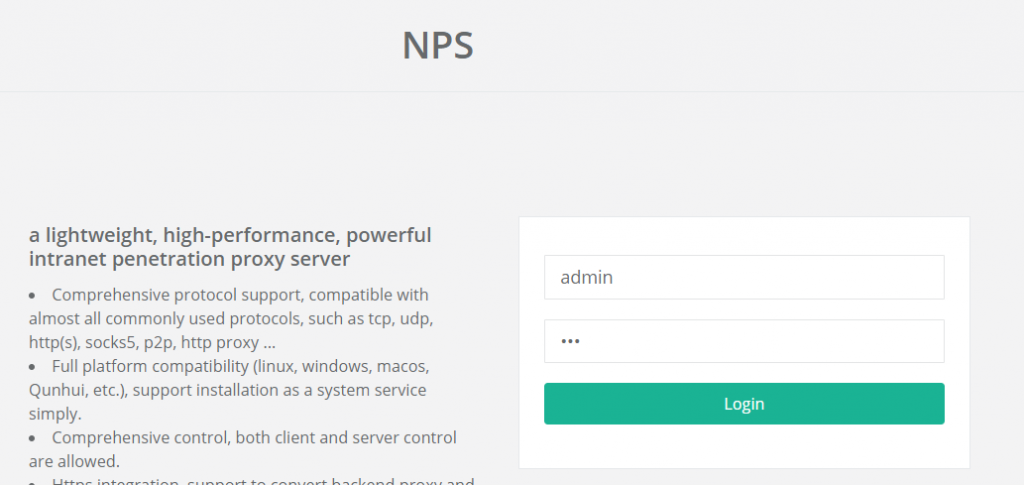
然后访问IP:8080即可进入web管理界面,默认账号admin密码为123:
然后就是普通的图形化配置了,具体教程可以查看官方指导,这里就不多说了:
安装客户端
客户端我这边用的是windows,所以直接下载,然后解压到C盘根目录,修改npc.conf文件,配置即可。


