前言
原本我是不想写的,但是考虑到后续自己可能还会用到,还是记录一下吧。安装过程很简单就是添加源、装依赖、拉包并安装。
可以参考rstudio的安装方法:https://www.liujason.com/article/121.html
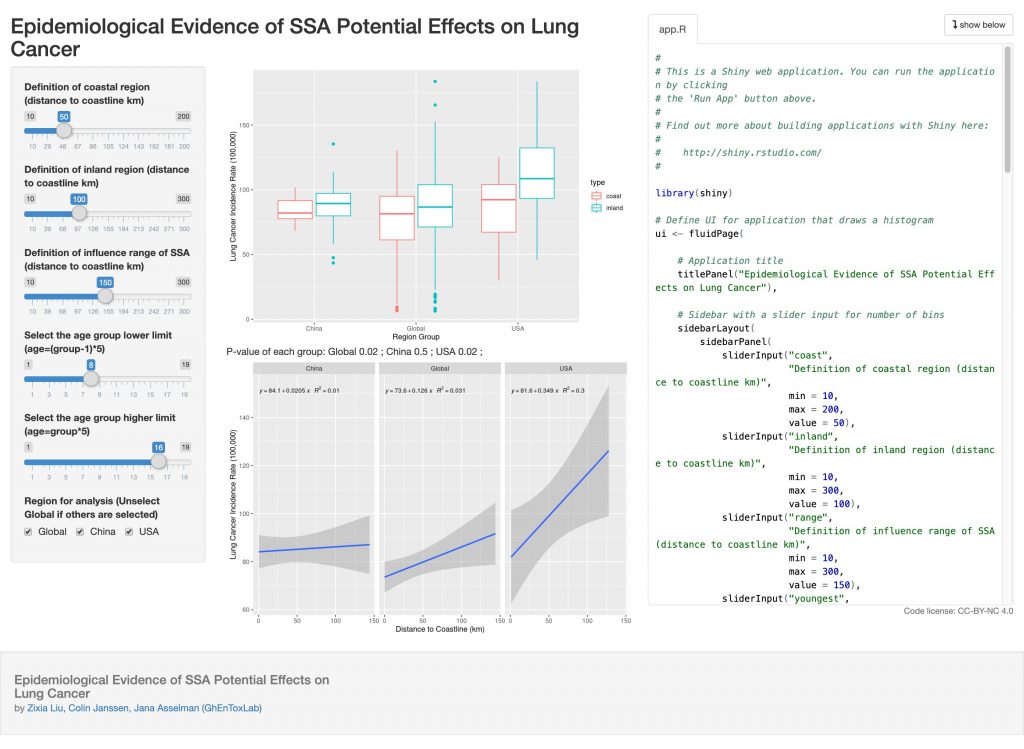
这次是在CentOS7的LXC中进行安装,为了做这个东西:https://r-shiny.liujason.com/sea-lungcancer/
ShinyServer安装实例
首先是添加源,要注意sudo有可能没有安装,先装一下
yum install sudo -y && sudo yum install epel-release -y
然后装依赖,wget、R、shiny包等等
sudo yum update
sudo yum install wget R -y
sudo su - \
-c "R -e \"install.packages('shiny', repos='https://cran.rstudio.com/')\""
最后装shinyserver,最新版本自己去官网找
wget https://download3.rstudio.org/centos6.3/x86_64/shiny-server-1.5.12.933-x86_64.rpm
sudo yum install --nogpgcheck shiny-server-1.5.12.933-x86_64.rpm
配置实例
首先看看是否启动成功了,若未成功对照看看是不是依赖包没装好
[root@r-shiny-1 shiny-server]# service shiny-server status
Redirecting to /bin/systemctl status shiny-server.service
● shiny-server.service - ShinyServer
   Loaded: loaded (/etc/systemd/system/shiny-server.service; enabled; vendor preset: disabled)
   Active: active (running) since Sun 2020-01-12 13:52:50 UTC; 17min ago
 Main PID: 19736 (shiny-server)
   CGroup: /system.slice/shiny-server.service
           └─19736 /opt/shiny-server/ext/node/bin/shiny-server /opt/shiny-server/lib/main.js

Jan 12 13:52:50 r-shiny-1 systemd[1]: Started ShinyServer.
然后看看是否正在监听正确的端口和ip
sudo yum install lsof -y
这里我发现机器自动监听的是ipv6,所以需要改一下设置
[root@r-shiny-1 shiny-server]# lsof -i:3838
COMMAND     PID USER   FD   TYPE   DEVICE SIZE/OFF NODE NAME
shiny-ser 19736 root   18u  IPv6 51374060      0t0  TCP *:sos (LISTEN)
设置文件在/etc/shiny-server/shiny-server.conf,所以编辑一下
vi /etc/shiny-server/shiny-server.conf
-------
# Define a server that listens on port 3838
server {
  listen 3838 0.0.0.0;
-------
在server中监听端口后面加上监听的网卡ip,一般用0.0.0.0表示所有ipv4都监听,然后重启rshinyserver
[root@r-shiny-1 shiny-server]# service shiny-server restart
Redirecting to /bin/systemctl restart shiny-server.service
[root@r-shiny-1 shiny-server]# service shiny-server status
Redirecting to /bin/systemctl status shiny-server.service
● shiny-server.service - ShinyServer
   Loaded: loaded (/etc/systemd/system/shiny-server.service; enabled; vendor preset: disabled)
   Active: active (running) since Sun 2020-01-12 14:37:14 UTC; 4s ago
  Process: 350 ExecStopPost=/usr/bin/env sleep 5 (code=exited, status=0/SUCCESS)
 Main PID: 377 (shiny-server)
   CGroup: /system.slice/shiny-server.service
           └─377 /opt/shiny-server/ext/node/bin/shiny-server /opt/shiny-server/lib/main.js

Jan 12 14:37:14 r-shiny-1 systemd[1]: Started ShinyServer.
[root@r-shiny-1 shiny-server]# lsof -i:3838
COMMAND   PID USER   FD   TYPE   DEVICE SIZE/OFF NODE NAME
shiny-ser 377 root   18u  IPv4 51480181      0t0  TCP *:sos (LISTEN)
访问http://ip:3838/index.html已经可以看到示例页面了。
调用并部署git内的shinyapp
shiny的web根目录在/srv/shiny-server里面,因此先进去删掉所有自带内容,再git拉取就可以了
cd /srv/shiny-server
rm -rf *
git init
git remote add origin https://rcoding.net/liujason/r-shiny-demo-server.git
git pull origin master
完成了,记得装app里面用到的包!
Nginx反代
如果和我一样不想占用整个ip又想使用80/443端口访问的话需要设置nginx反代。要注意的是由于shiny用了Websocket传递图像,因此需要在nginx中做特殊设置,直接贴代码吧:
server
{
    listen 80;
        listen 443 ssl http2;
        ssl_certificate /etc/ssl/cert.crt;
        ssl_certificate_key /etc/ssl/cert.key;
    server_name r-shiny.liujason.com;
        #PROXY-START/
        location /
        {
                expires 12h;
                if ($request_uri ~* "(php|jsp|cgi|asp|aspx)")
                {
                         expires 0;
                }
                proxy_pass http://172.21.0.245:3838;
                proxy_set_header Host $host;
                proxy_set_header X-Real-IP $remote_addr;
                proxy_set_header X-Forwarded-For $proxy_add_x_forwarded_for;
                proxy_set_header REMOTE-HOST $remote_addr;
                proxy_http_version 1.1;
                proxy_set_header Upgrade $http_upgrade;
                proxy_set_header Connection "upgrade";
                add_header X-Cache $upstream_cache_status;
                add_header Cache-Control no-cache;
        }
}


